Pistol-mounted optics are battery-powered and man-made. As a result, they can fail. Not anywhere near as often as they once did, but they can. How do you deal with that if it happens?
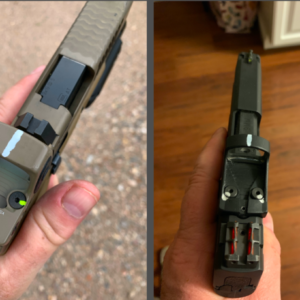
First, for the foreseeable future, set your pistol up with back-up sights. Whether you have them in the bottom of the glass or co-witnessed with the dot is a discussion for another Instructor’s Corner article. Just have a set of back-up sights.
To practice transitioning to your iron sights, work either dry practice or shooting drills with the dot turned off.
Here are three more ways you can continue to get hits, back to a reasonable distance, if your dot goes down:
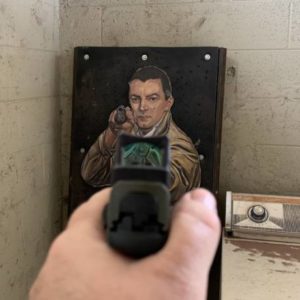
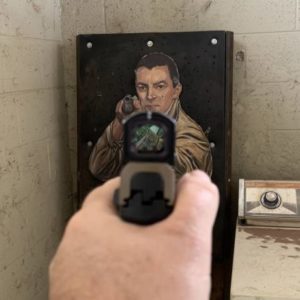
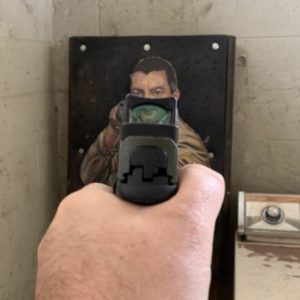
Use the top of the optic’s housing across the target’s / threat’s shoulders as your aiming point. The Trijicon RMR has what looks like owl ears on the optic housing that works nicely for this. Elevation might be an issue initially, but with practice, you can reduce your group size.
You can also use the optic window like the rear ghost ring sight. Look through it at what you need to hit.
The slide plate cover on a striker-fired pistol – like a Glock, M&P, Sig P320 – can be used by placing it over the desired impact area. The focus is still on the target, and you let the cover appear in your line of sight. You can use the hammer on your 1911, a Beretta, or Sig Sauer as the aiming point as well.
One suggested add-on to your optic for using these – with a light-colored paint pen, at the top center of the optics’ housing, draw a line running from the front to the back of the housing. If your muzzle is too high, that line will give you a visual reference for it.
Are any of these the best answer? No, but being in a fight with your primary and secondary sighting systems down is not a good place to be either.
We cover how to use all of these in our pistol-mounted optics (red dot) classes. We’re teaching a 250RDS right now and will run a 350RDS in August.